For some reason unfamiliar to me, Microsoft likes to write tutorials that does not easily teach you what you need to do to get the job done.
For basic List type reports, yes, it’s quick and simple, however, when it comes to reports involving forms (i.e. sales order, sales invoice, etc), I cannot find a good tutorial on how to get it done.
Forget about the Create Layout Suggestion feature on the form type reports. It sucks. You’d save a lot more time by re-creating your layouts in the standard NAV RDLC report.
One of the most important aspects of the Form type report when you’re trying to edit the standard report is 2 functions: SetData and GetData.
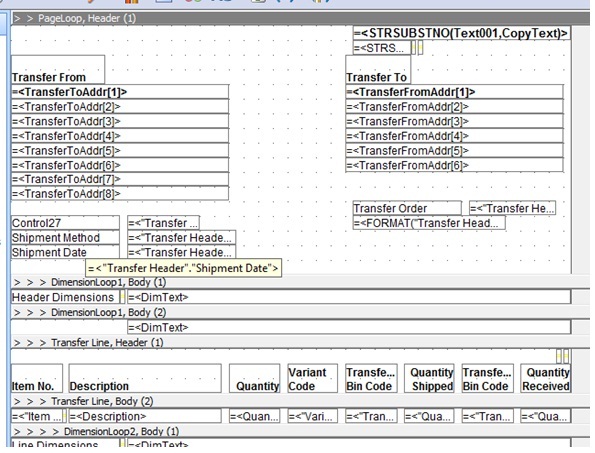
In this example, I’m modifying report 5703 (Transfer Order) report. I’m going to add the Shipment Date and the Shipment Method Code to the report in the report.
Here’s what you need to do, step by step:
1. Create the fields in the classic report and point to the proper field. It doesn’t matter where you put it as we’re not displaying the classic report.
2. Click on View –> Layout. This is to modify the report when running the report in the RTC environment. Note that you’ll need Visual Studio 2005 and above to do this.
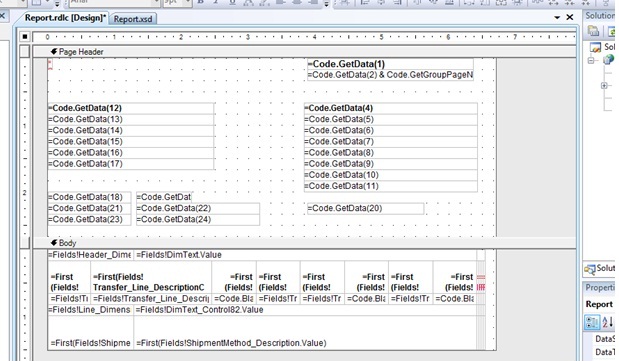
3. You want to add 4 additional text boxes. Two for the caption box and 2 for the text box. I just copy and paste from the existing text boxes above. Number your GetData function 21 to 24 as shown in the example.
Background and the reason for this, if you’re not interested, skip to #4:
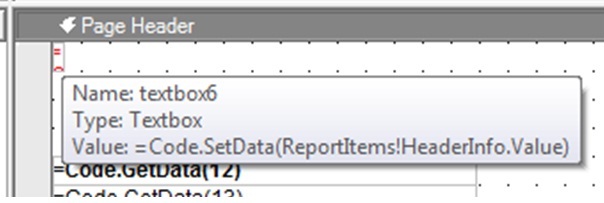
Now you need to do a little detective work to find where the SetData and the GetData is. If you notice on the upper left corner, there’s a small hidden field in red. If you highlight the field, the code reads:
What’s the reason behind using SetData and GetData? The reason is because you cannot add field text boxes in the report header. The argument here is performance. If you like to read, there’s a section in the 80146B manual that you can download from Customersource or Partnersource. So most of the coding is done on the lines area.
Now, back to the tutorial, where to set the SetData and GetData? Here’s where you need to play a little detective.
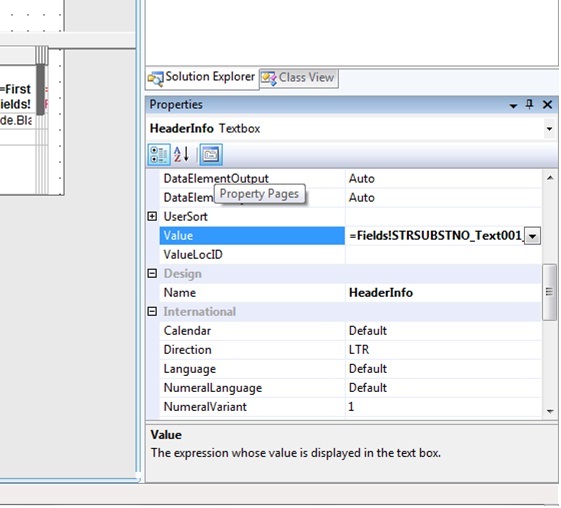
4. On the lower right corner, there are some additional hidden boxes in red. Highlight each one of them until you find this one (Note the HeaderInfo. It corresponds to the SetData).
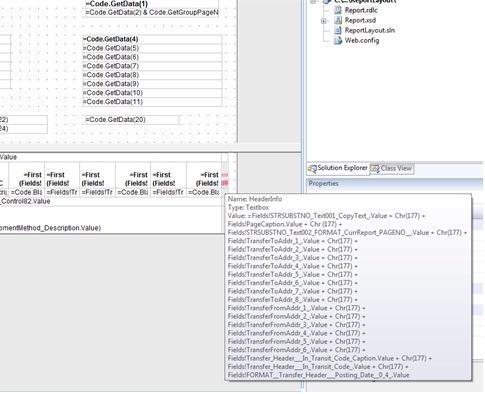
5. Highlight the text box and go to the Value property. Click on the Property Page icon to display the property of the Value:�
6. Go to the General tab and click on the fx button next to the Value
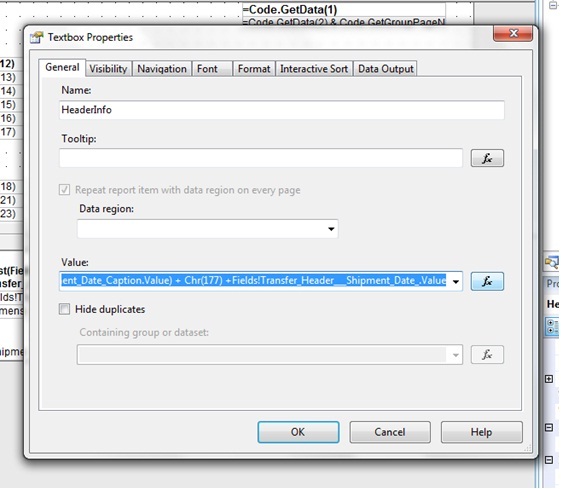
7. Type in the 4 additional fields you’ve set from row 21-24.

8. Click OK and close and save the report
9. Go back to the RTC and run the Transfer Order report:
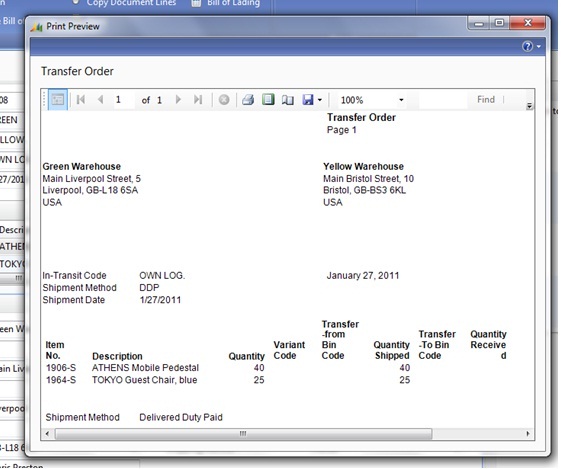
There you have it. Seems like an awful lot of steps for something so simple… But this is supposed to make our life easier so we’ll walk along and wait for the benefits to come.